Showing posts with label party. Show all posts

Thursday, July 12, 2012

Royalty

Have you ever tried Royal Icing?? Its a ROYAL pain!! It's so picky and touchy and you have to do everything JUST right. I tried it for Emmah's birthday with some success...as in it looked okay, but you couldn't touch the frosting, it was weird tasting, and had a fluffy/over mixed look to it.

Well as you saw in my sugar cookie post I have a new best friend...Callye from Sweet Sugarbelle! Not only did she tell me how to make some SUPER delicious sugar cookies, but she also shares how to make Royal Icing!! The best part of her sharing...is her explanation!
The basic royal icing recipe stays the same, but its how you put the parts together that can really make the difference.

Here is her recipe for Royal Icing:
Ingredients:
2lbs confectioner’s sugar
1/3 cup plus 1 Tbsp meringue powder
about 3/4 c. warm water
1-3 Tbsp. oil-free extract or flavoring
Instructions
  1. Add the dry ingredients first. Use your mixer’s whisk attachment to incorporate the sugar and meringue powder.
  2. Add the extract to the water and slowly add it to the dry ingredients while mixing. At first the icing will be very liquid-like.
  3. Continue to mix it at medium-high speed until it is fluffy and stiff peaks form, about 7-10 minutes. Mixing times are approximate, keep your eye it icing and stop mixing as soon as it becomes stiff. Over mixing and oil-containing extracts can keep the icing from setting up, so keep this in mind as you work.
Be sure to head to her site and follow through the post as you make your frosting. I found that her descriptions as to what my icing should be looking like were perfect and easy to relate to.
I first got my ingredients together and started mixing:
Next I continued mixing until I got it got firm (As she says she makes it firm and then works backwards
Then I follow her lead again by measuring out some icing, adding the color, and then separating to make the piping icing and flooding icing. I used icing color, it tends to be more true then food coloring. (Want a certain color?? Callye has a color chart for you to use to get the perfect color!)
I personally used a ziplock for the piping...I know real "high tech" but it's what I had and it worked out great! {She does show you on her blog how to do it with a piping bag.}
{Your piping icing should be the consistency of toothpaste or soft scrub cleaner}
Once I had the color, I got to piping. In a nice smooth motion go around the outside of your shape. You will want to let this harden before moving on to the flooding.
Next you "flood" your cookies. This sounds exactly like what you are doing. With your thinned out frosting you basically "flood" the remaining cooking with the frosting. {The flooding frosting should be the consistency of shower gel.}
Let your cookies sit out...mine took a couple of hours to completely harden. You can then store your cookies for your event. Making these a few days ahead of time is perfectly acceptable. The cookies can easily be frozen and the frosting can be stored in your refrigerator or at room temperature for up to a month.
signature

Thursday, July 5, 2012

Sugar is Sweet

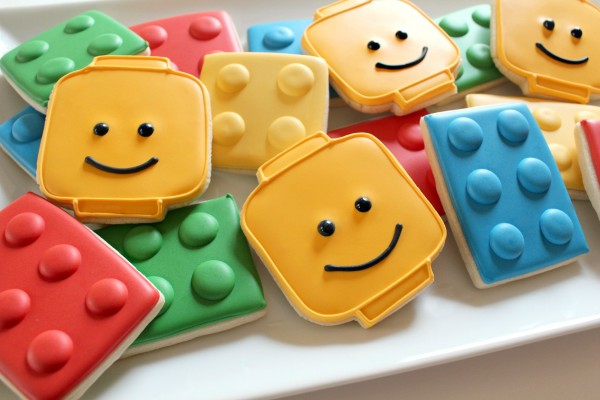
Since Emmah's party I have really wanted to give the whole sugar cookie and royal icing thing another go. In my searches for ideas for Jake's party I came across these really cute lego man cookies (We're doing a lego theme!!)

(photo cortesy of The Sweet Adventures of Sugarbelle)
 
How cute are these?? And the best part is...she shows you how to make your own and shares her recipes!!
My first goal was to master the cookies themselves. And although I didn't want to make the lego heads first I decided to make something that went with the holiday STARS!!
 
I followed her recipe and started with the confectioners sugar and butter.
I then mixed the flour, salt, and baking soda in a seperate bowl and slowly added it to the other mixture.
Rolled them out...and cut out my stars.
Here are the finished and tasty product!! They have an almond flavoring to them, which is soft and I just LOVE it!!
Next time you see these cookies...they will hopefully be iced ROYALLY!

I followed the recipe from Sweet SugarBelle.

Ingredients
  • 1 c. {two sticks} of REAL unsalted BUTTER, softened
  • 1 1/2 c. confectioner’s sugar
  • 1 egg
  • 2-3 tsp flavoring {pick what you like, I prefer almond}
  • 2 1/2-2 3/4 c. all-purpose flour
  • 2 tsp. baking powder
  • 1 tsp. salt


1. Cream together softened butter and confectioner’s sugar. Crack the egg into a separate bowl, and add the flavoring. I use emulsions, but extract also works well. Add that to the butter sugar mixture and mix until the egg is thoroughly incorporated. In a separate bowl, sift together the flour, baking powder, and salt, then add little by little to the mixture. I can tell the dough is ready when most of it sticks to the paddle. When I touch it, it has a little give, but does not stick to my fingers. 
 
2. Roll out on parchment to about 1/4 an inch thick, use flour for dusting as necessary. Then, cut and bake at 400 degrees for 7-8 minutes. This version makes 2-2 1/2 dozen, doubled, it makes 4-5 dozen.
 
If you stop by her blog she includes lots of helpful tips and tricks!
signature

Sunday, April 29, 2012

Cake Stand

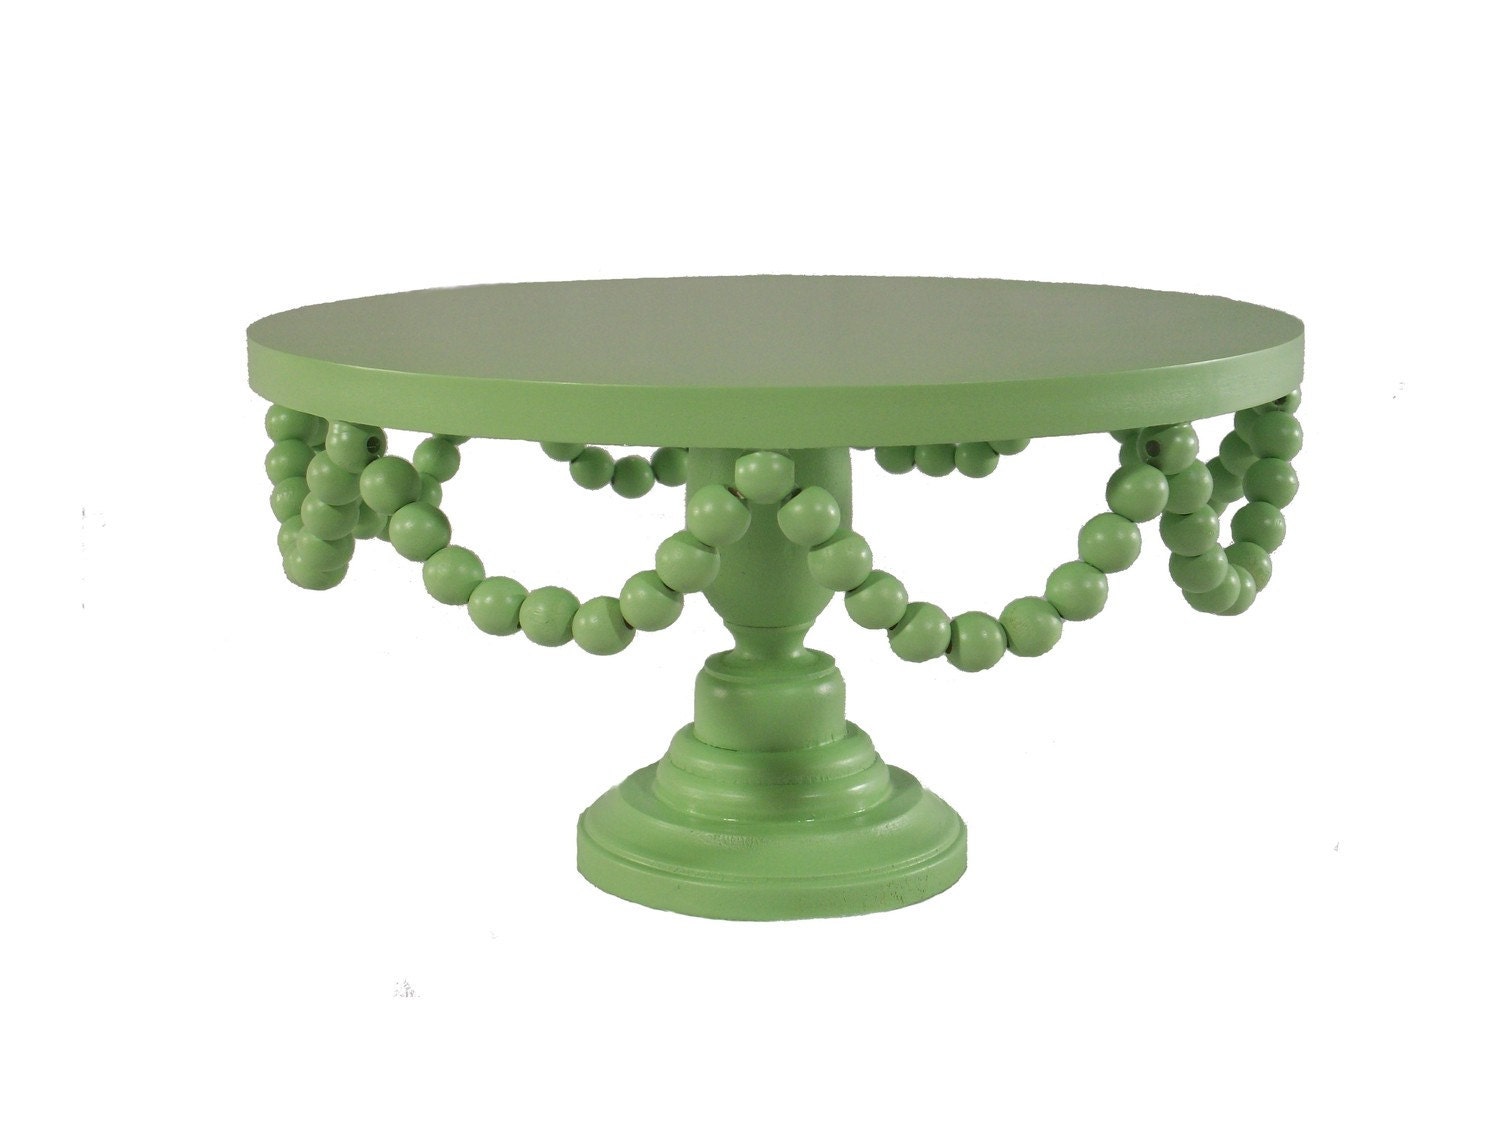
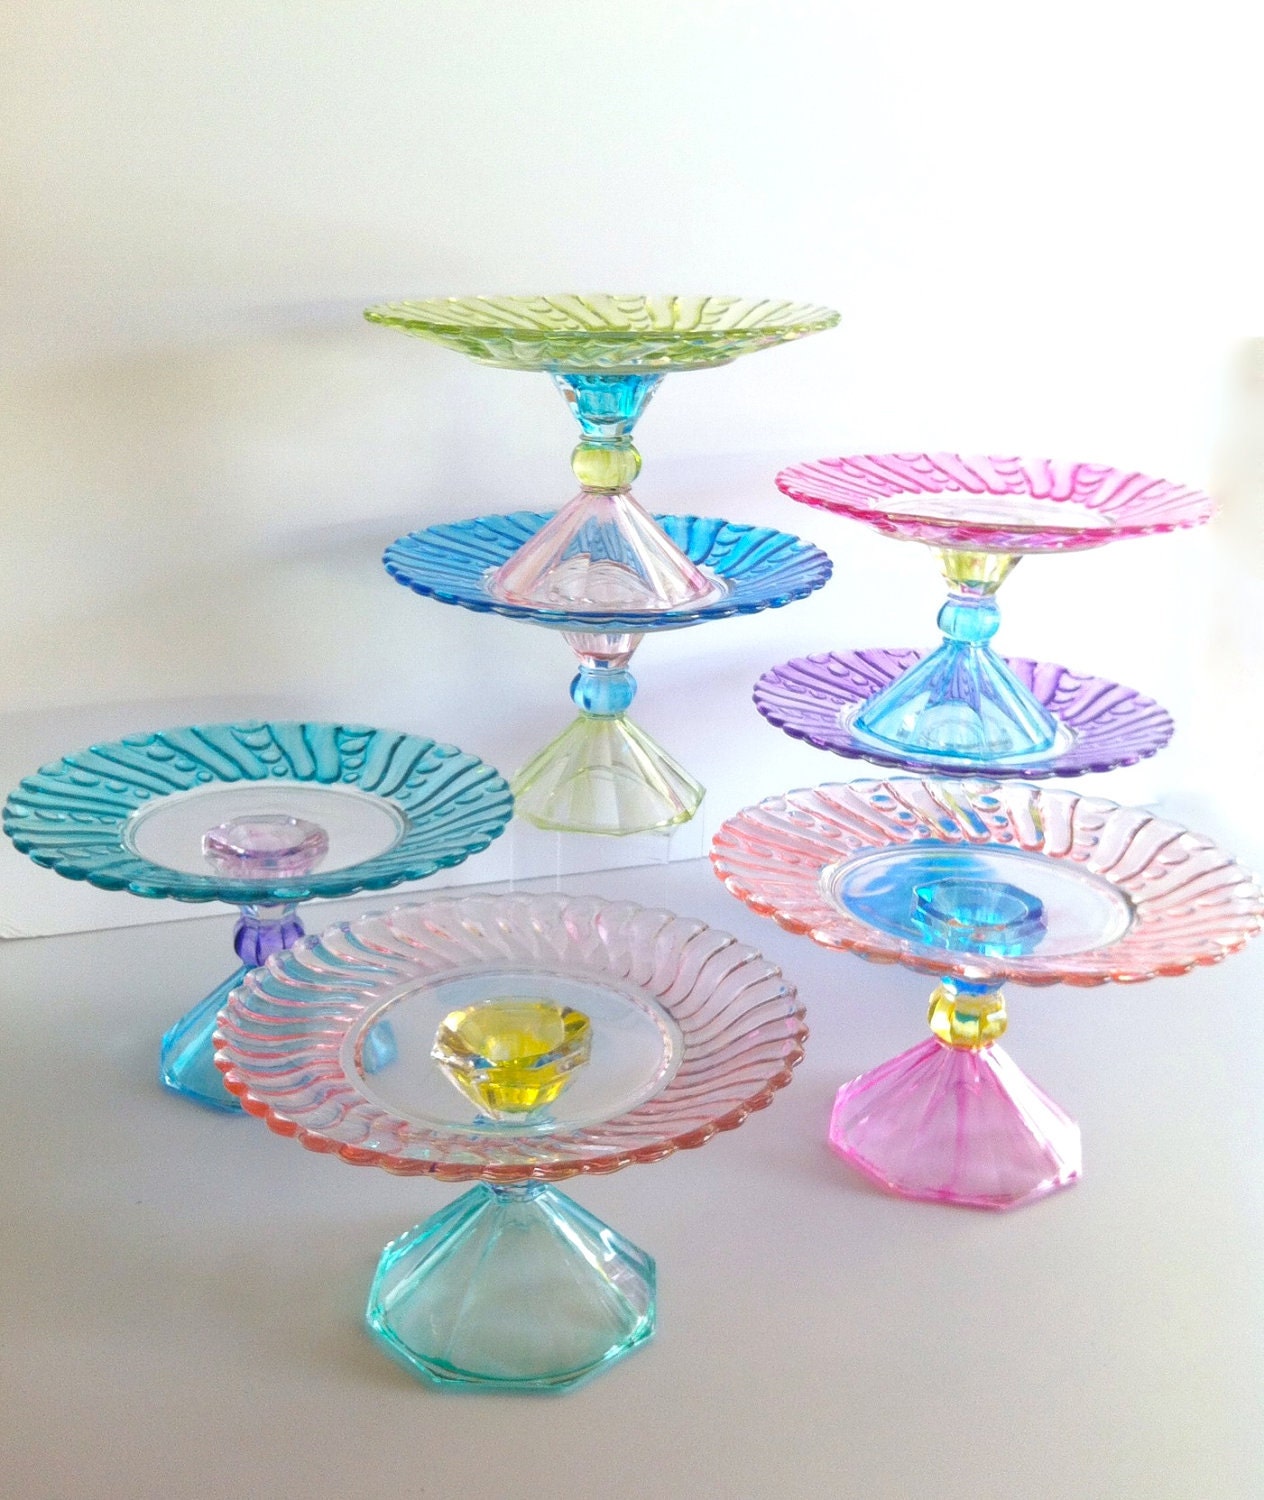
I am absolutely in LOVE with all the fun, colorful, adorable cake stands that are out there these days!! Here are some of my favs:

Sarah's Stands #6
 
 or this beauty from delightfully lovely
 
 
oh and these from marsh home!!

Well being on the crafty side and liking to keep things budget friendly I decided I would make my own!
Here is what you'll need:
  • candlestick (also could use a glass as well)
  • wooden plaque (any size will work, and really almost any shape too)
  • E6000 glue
  • craft paint/spray paint
To get started first you will want to decide if you want to paint your candlestick. I chose not to since I liked how it looked and planned to use it with my larger glass cake stand.
Next paint either both the candlestick and the wooden plaque or in my case just the wooden plaque. (**if you are using either a glass or metal candlestick you will want to use spray paint as it will ahere better)
Once the paint has dried you can go ahead and glue your candlestick onto the plaque. I used E6000 as it is my go to glue...I use this stuff for EVERYTHING!

Let dry and then sit back and enjoy your handy work!


signature

Saturday, April 21, 2012

Bake Shoppe


Most people who know me; know that I have a serious problem when it comes to party planning. I tend to get a little too into my planning!! I LOVE to plan kids partys and dread the days when my kids will no longer want these theme parties, let's just hope that is a LOOONG ways off!
 
First off, my baby is turning 9! Really 9? Who told her she could get that old, I am so not okay with that, but I guess since I can't really control it I will just have to deal.
 
This year after much deliberation we decided to go with a baking/bake shoppe theme.
How fun is that?? I had a blast having Emmah help me pick out the details, like decorations, plates, activities and invitations.
 
Here is the final invitation:
 
 
A few pics of all the fun details:


Don't worry there will be a few tutorials on some of my projects.
 
All in all it was a great time celebrating a soon to be 9 year old!!


signature

Wednesday, July 27, 2011

May the Force Be With You!


In our family we have some serious Star Wars fans so it was no surprise to me when Jake decided he wanted to have a Star Wars party! So of course as usual...I went NUTS!!
Here are the invites:


I used an example online and made it my own, pretty simple and nothing too fancy!
Then it was on to some party favors, treats, decorations, and all out fun!!


I plan to also post a little how to for some of my other party items as well!! I had so much fun with this party, I mean who wouldn't?? But I just LOVE a good theme!!
 
May The Force Be With You!
signature

Tuesday, April 19, 2011

Bubble Gum, Bubble Gum in a dish...

I can hardly believe that in only a few days my baby will be 8! How does that happen and where does the time go?? I LOVE a good theme party so of course I really into...I didn't go overboard at all. Okay well maybe I did...I can't help it!
Here are the details....and oh were they fun!!
  1. Goody Jars filled with gumballs!
  2. Party invites
  3. Hanging decor, great find from Hobby Lobby for super cheap!!
  4. Gumball machine sugar cookies (No I didn't make these!)
  5. Estimating Jar
  6. Terracotta pot gumball machines (The kids all got to make one of their own!)
  7. The cake
  8. Birthday girl blowing out her candles (Nevermind that mom bought the trick candles and that we almost started a fire! OOPS!!)
  9. Birthday banner
  10. Cupcake bites to fit the theme.

At the end of the day Emmah told me she loved it all!! Which made all my craziness the last day or so all the more worth it!