Sunday, April 29, 2012

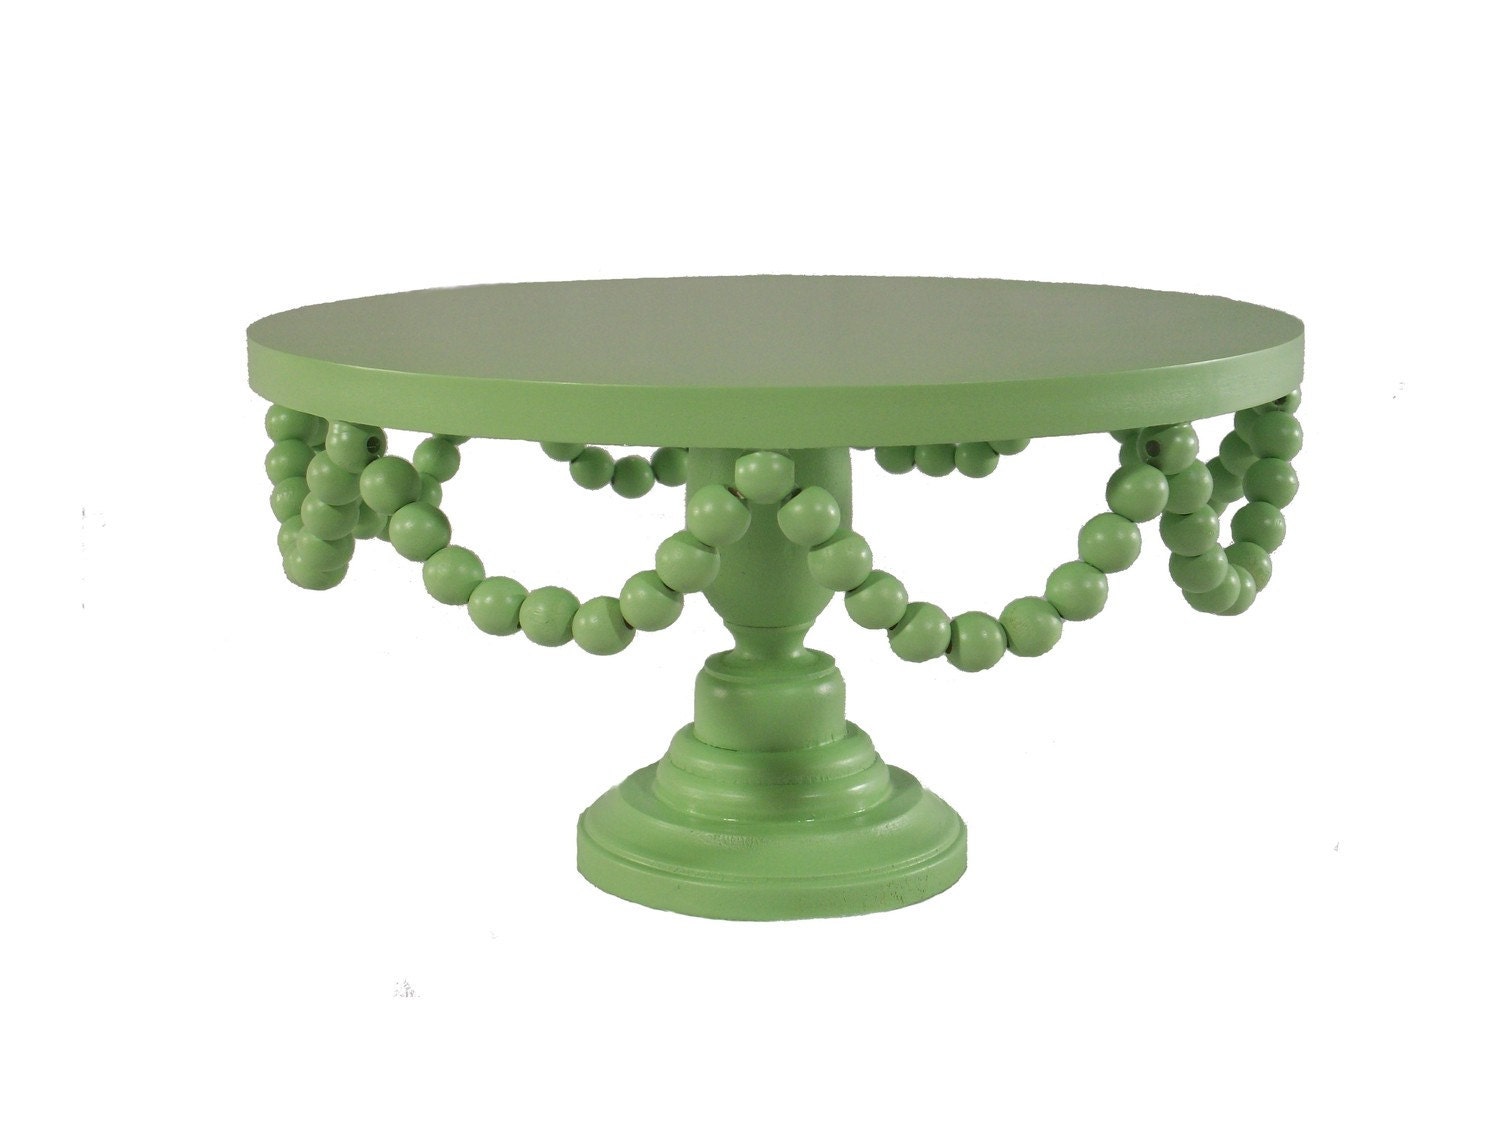
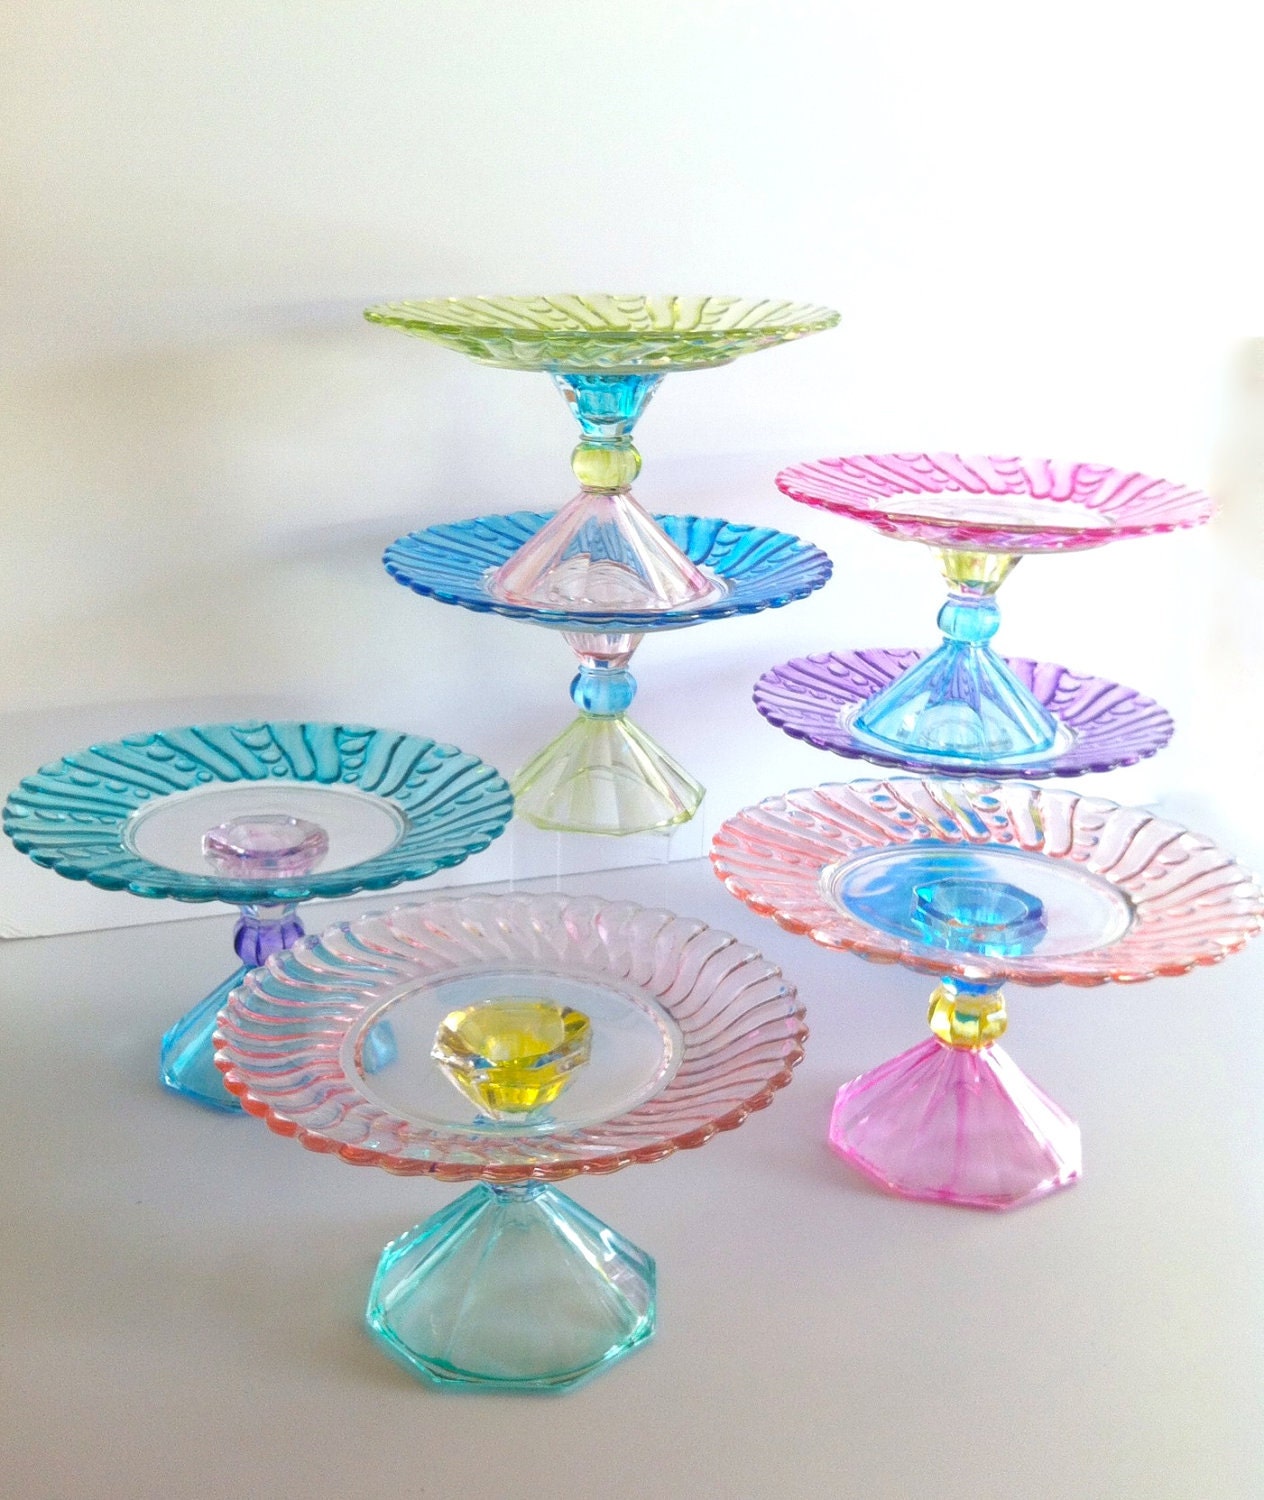
Cake Stand

I am absolutely in LOVE with all the fun, colorful, adorable cake stands that are out there these days!! Here are some of my favs:

Sarah's Stands #6
 
 or this beauty from delightfully lovely
 
 
oh and these from marsh home!!

Well being on the crafty side and liking to keep things budget friendly I decided I would make my own!
Here is what you'll need:
  • candlestick (also could use a glass as well)
  • wooden plaque (any size will work, and really almost any shape too)
  • E6000 glue
  • craft paint/spray paint
To get started first you will want to decide if you want to paint your candlestick. I chose not to since I liked how it looked and planned to use it with my larger glass cake stand.
Next paint either both the candlestick and the wooden plaque or in my case just the wooden plaque. (**if you are using either a glass or metal candlestick you will want to use spray paint as it will ahere better)
Once the paint has dried you can go ahead and glue your candlestick onto the plaque. I used E6000 as it is my go to glue...I use this stuff for EVERYTHING!

Let dry and then sit back and enjoy your handy work!


signature

Saturday, April 28, 2012

Gender Revel Cookies

A really good friend of mine is expecting her second baby and I love to live vicariously through her...as there are so many fun ideas to share that your expecting, gender reveal, and baby photos. So I make her try all this fun stuff!!

Well this past week she had her ultrasound and was going to find out what she was having, and since she is a teacher we thought it would be fun to have her kids guess and then give them a special treat to find out what it was. After searching I found these delicious chocolately fudge cookies and decided these were PERFECT!!
Fudgy Delights (as found on easybaked.com)

INGREDIENTS:
  • 40-50 Wilton candy melt pieces in BLUE or PINK
  • 8 oz. Philadelphia Cream Cheese
  • 1 bag (12 oz) semi-sweet chocolate chips
  • 2 c. all-purpose flour
  • 1 t. vanilla
DIRECTIONS:
  • Soften Philadelphia cream cheese in microwave until completely smooth.
  • Melt chocolate chips in microwave in 30 second increments, stirring well in between.
  • Add cream cheese to melted chocolate and blend well.
  • Add flour and vanilla and stir into a thick dough consistency.
  • Flatten about 1 tbs. of dough in your palm, place 2 candy melts (flat sides together) in the center and gently wrap the dough around the melts until they are completely covered.
  • Flatten dough and shape into an Oreo shaped and sized cookie and place on an un-greased cookie sheet.
  • Bake cookies at 350 degrees for 8-10 minutes.( I did mine just a little longer, but time varies based on your oven.)
  • Remove warm cookies from cookie sheet and place on parchment paper (they will be a little greasy on the bottom, the parchment paper helps with this)

These cookies are super delicious and could be done for almost any holiday or just a sweet treat! On her site she even uses the peanut butter candy melts, or hershey kisses...Oh the possibilites!!!
signature

Wednesday, April 25, 2012

Birthday Crack

I don't know about you, but I am always tempted by something sweet and since Emmah's birthday party had a baking theme I wanted to make sure that we had more than just cupcakes to snack on...so I made some fun sugar cookies and then found a new recipe for a puppy chow like recipe make with cake mix.

It's officially called Cake Batter Chex mix and it is super tasty, but super NOT healthy, so make it and give it away or you may be tempted!!

I got the recipe from The Girl Who Ate Everything and will definitely be going back!! Here is how to make your own:

Ingredients:

5 cups Rice Chex cereal
10 ounces (5 squares) vanilla flavored chocolate (I used CandyQuik)

3/4 cup yellow cake mix
1/4 cup powdered sugar
colored sprinkles

  1. To start put your cereal into a bowl. I used a tupperware one with a lid as you will need to shake later on.
  2. Melt your chocolate according to the package and then pour on top of your cereal.
  3. Mix around til all cereal is covered.
  4. Then add cake mix, powdered sugar, and colored sprinkles. (You'll want to add plenty to make the mix colorful!
  5. Then  put top on bowl or move to sealed bag and gently shake til all is covered.
  6. Discard excess power and ENJOY!!
Chocolate added and ready to be mixed...
Onto the cake batter, ready to shake and coat!

Now it's ready to ENJOY!!

YUMMY!!
signature

Saturday, April 21, 2012

Bake Shoppe


Most people who know me; know that I have a serious problem when it comes to party planning. I tend to get a little too into my planning!! I LOVE to plan kids partys and dread the days when my kids will no longer want these theme parties, let's just hope that is a LOOONG ways off!
 
First off, my baby is turning 9! Really 9? Who told her she could get that old, I am so not okay with that, but I guess since I can't really control it I will just have to deal.
 
This year after much deliberation we decided to go with a baking/bake shoppe theme.
How fun is that?? I had a blast having Emmah help me pick out the details, like decorations, plates, activities and invitations.
 
Here is the final invitation:
 
 
A few pics of all the fun details:


Don't worry there will be a few tutorials on some of my projects.
 
All in all it was a great time celebrating a soon to be 9 year old!!


signature

Friday, April 13, 2012

Basement Transformation

Although this is still a work in progress, we have made some HUGE strides over the last week! Here are some updated pictures to share with you:
 
 
There will definitely be more to come as we have added outlets, switches and a new couch!!
 
I just LOVE the pop of color we added and am having LOADS of fun working on the final details. (Many of which have been pinned on my Pinterest board for months....YEAH!)
I am looking forward to making the desk this week using a door as well as revamping my yucky file cabinet. Those are next on the list, and don't worry I'll have tutorials posted for both!! 
signature

Wednesday, April 11, 2012

Upcycled Pillows

**In case you missed my guest post, here is the fun project I did!! It was pretty easy and super fun!! Jake is already requesting more!!**


T-shirts always seem to wear out around our house...and with a husband that wears them everyday, we go through A LOT!! 


Well, my hubby has a few that bring back some special memories or are just plain cool, but he has, well let's just say made them not as attractive to wear anymore. So I have been looking for a cool way to use these t-shirts. I've heard of the quilts, but they don't quite fit so when I saw some t-shirt pillows I knew that it was the PERFECT idea!!
 
My son's room is baseball themed and since most of the t-shirts I had to work with were baseball/sport related they would be a great addition to his room! 
So I got to work!

Supplies: 
  • old or new t-shirts
  • stuffing (higher polyfil the better, or you can use a pillow form)
  • pins
  • rotary cutter and cutting mat
  • lightweight fusible interfacing
Now let's get started:

First off decide what part of the shirt you are going to use.
Using your rotary cutter and mat line the shirt up and cut you will want your image to be centered so cut accordingly. Cut through both layers of the shirt.

Now cut your interfacing to the same size as your pieces. You will want to iron this onto both sides of the pillow, it helps to keep the shirt from stretching and tearing after you sew.

Next, pin right sides together and then sew around the outside leaving 3-4 inch opening for you to stuff.
 
Trim corners and then turn rightside out, and STUFF! Then finish off with an invisible stitch.
Display with JOY and ADMIRATION!!
The smile on my son's face is enough for me to know that it's a job well done!

Tuesday, April 10, 2012

Flapjacks

 Well in the idea of sticking to out Weight Watchers, and eating healthy. I of course have been trying A LOT of new recipes. One of them I tried was Chocolate Chip Banana Pancakes...and they were super YUMMY!!
 

(Here they are cooking, and make sure you watch closely so they aren't mushy inside...we found this out the hard way!)

Enjoying the yummy deliciousness!
Wanna try???

Chocolate Chip Banana Pancakes
Ingredients:
1 cup unbleached white
2 tsp baking powder
1/4 tsp salt
1 large banana, ripe, mashed well
1 cup 1% milk (I used skim)
3 large egg whites
2 tsp oil
1 tsp vanilla
1/4 cup mini chocolate chips
cooking spray

Directions:
Mix all dry ingredients in a bowl. Combine milk, egg white, oil, vanilla and mashed bananas in another medium sized bowl and mix until smooth. Combine wet ingredients with the dry and mix well with a wooden spoon until there are no more dry spots.

Heat a large skillet on medium-low heat. Lightly spray a skillet with cooking spray, place the mold on the hot skillet and pour 1/4 cup of pancake batter. Add 1 teaspoon of chocolate chips in each pancake. When the pancake starts to bubble and the edges begin to set, flip the pancakes. Repeat with the remainder of the batter.

Makes about 3 cups of batter which yields 12 pancakes.
Servings: 6 • Serving Size: 2 pancakes • Old Points: 4 pts • Points+: 5 pts*
Calories: 179.6 • Fat: 5.2 g • Protein: 5.9 g • Carb: 28.4 g • Fiber: 2.5 g • Sugar: 10 g
Sodium: 572.1 mg

Recipe from http://www.skinnytaste.com/ (Check it out for some great recipes!!)


signature

Monday, April 2, 2012

MIA...sry!!

Well we've been crazy busy with spring here and all the fun of spring sports, and beautiful weather!!
In all this going on we also got started on our basement!!! (Finally, it only took 3 years, and LOTS of nagging!!)
So with all of that, it has been crazy, here is what else we have been up to, Emmah started Girls on the Run, soccer practice is in full swing, Softball tourney's are on the horizon, and some crafting!

Here are some of the before photos of our basement, more soon since the drywall will go on the ceiling tonight!!

I'll keep you posted and will have LOTS of projects coming in order to complete the basement, which will include a playroom for the kids and a craft room/playroom for Mom!!

We even made the kids help!

Where the new lights and speakers will be...

This is what my fireplace looks like, the floor anyway. Planing to keep the rest, just not decided on what color to paint it. Any suggestions??

signature